NYCRHPS Spacesuit Restoration
 Aaron
March 29, 2023
Aaron
March 29, 2023
NYC, like a lot of casts, has Takeover Spacesuits for Riff and Magenta that are provided for everyone to use. In the roughly 20 years I've been on cast, I think we've replaced them 3 or 4 times - they tend to last around 5 years of constant use. The latest set was purchased in 2016 from Satin Worshipers (run by an NYC cast alumn). They were gorgeous - extremely well constructed - and they looked fantastic on stage.
A few weeks ago, I was updating some of the homepage images on the nycrhps.org website - just the usual - getting newer faces up there, and I really wanted to use one of our takeover Magenta photos.
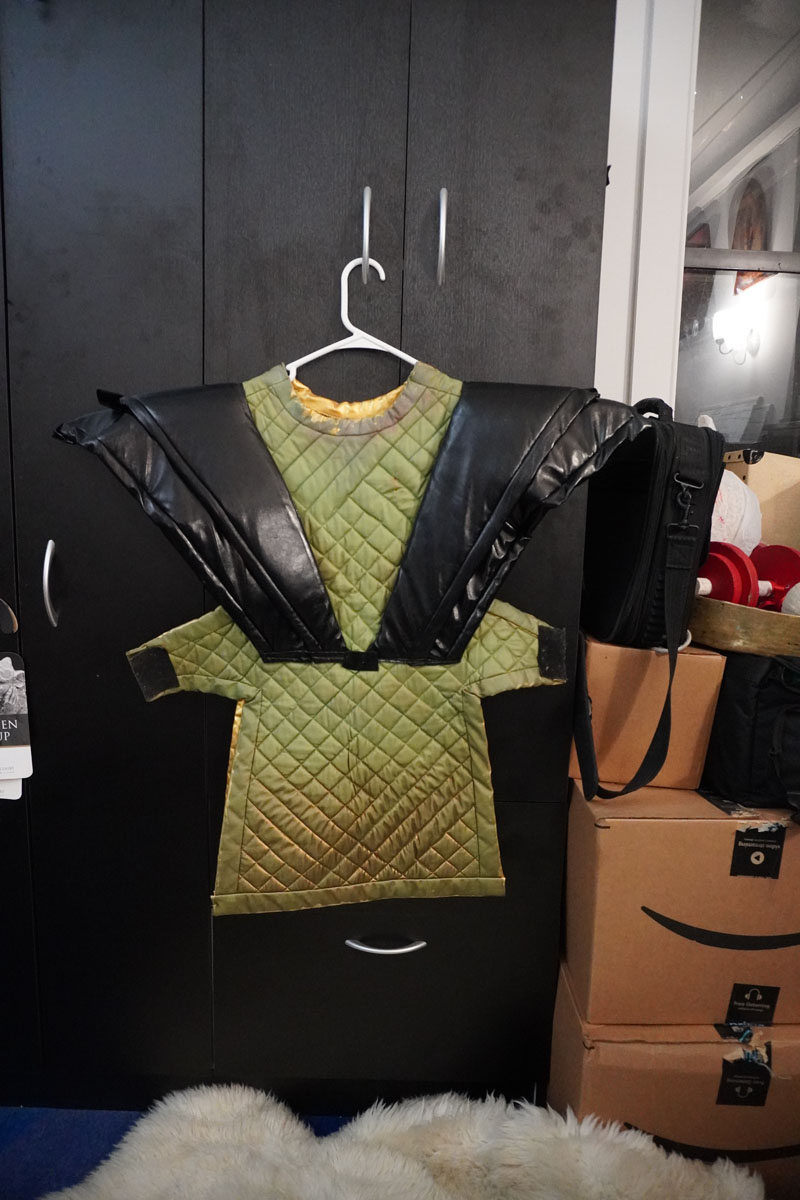
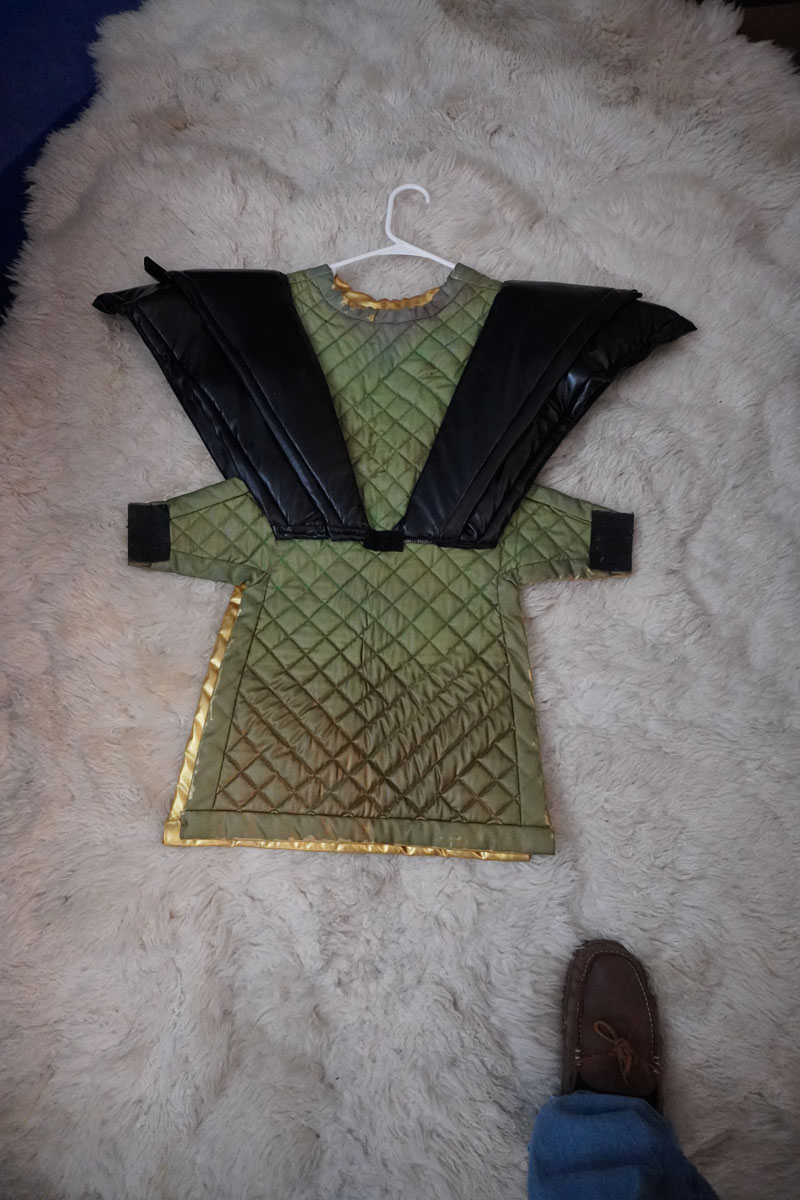
But we all know what happens to gold lamé over time...
It becomes... very. very. very.
Green.
I did a quick color fix in photoshop, just so I could finish the website updates, but I knew it was definitely time to do something about the Space Suits themselves.
The thing was... what? They were still in very good structural shape. They were easy to clean. There wasn't a ton of wear and tear, outside of the discoloration. I really didn't want to remake them, and since they are still in decent shape, it's hard to justify buying new ones.
Could you... just... paint them?
I highly recommend Angelus's line of leather paints for Eddie's Jacket. I use the gold, pictured here, in several coats, for the base of the sunburst. It has held up very well for me, and I wondered if it would work for the spacesuits as well. They aren't leather, but I had a feeling it would hold the paint well enough.
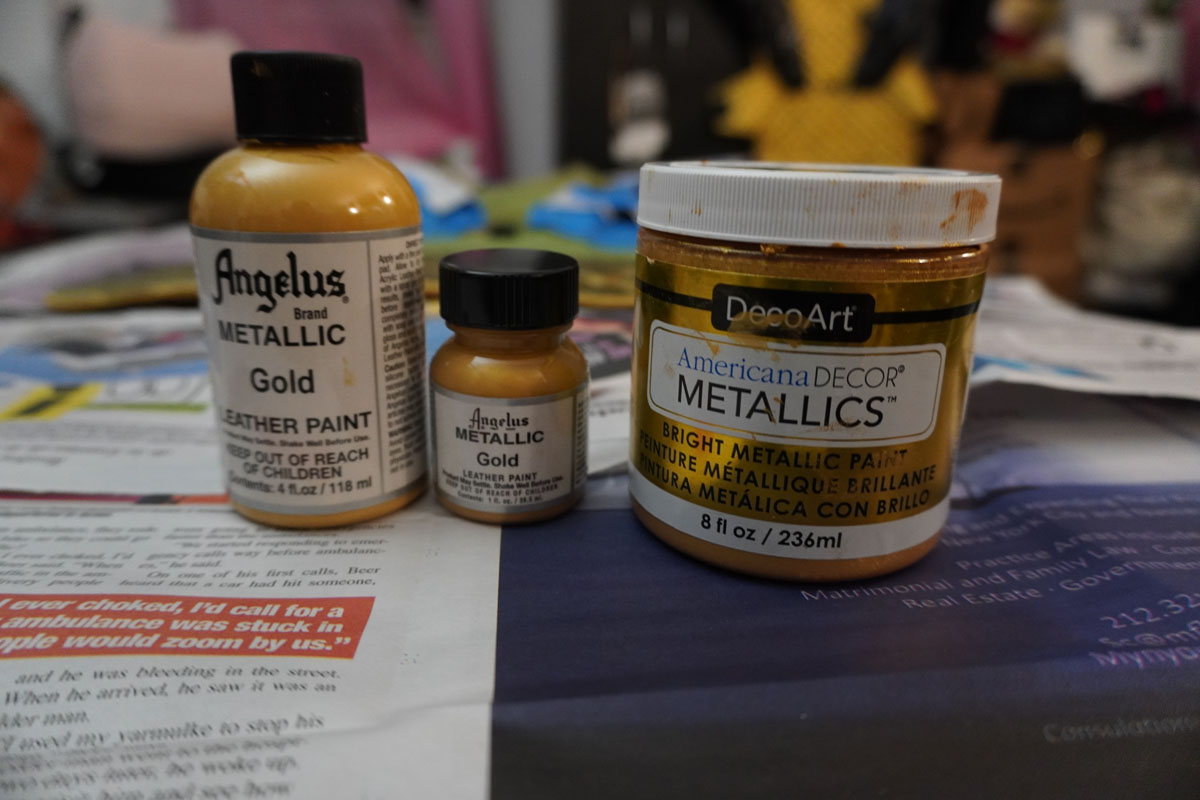
The only issue with the leather paint was that it didn't quite have the full metallic luster that lamé generally has. I'd used the DecoArt Americana Decor Metallics on projects before, and it seemed like a good option as a top-coat. It's very heavy and thick, so I didn't want to use it alone as it would require too much in order to get good coverage.
Angelus also makes a line of pearlescent gold. I ordered some recently, but it didn't arrive in time for this project.
The big thing to test for was ensuring the paint wouldn't make the fabric too rigid or rub off too easily. I did a couple tests.
This was very promising, looked pretty good, and so I ended up doing the entire backside of one of the suits just to see how it worked over larger areas, and how many coats it would take.
End result: 3 coats of the Angelus paint, then 2 coats of the Americana Decor Metallics. All told, to do both suits, it took about 5 or 6 oz of the Angelus and around 4oz of the Metallics.
Total cost: About $30.
$14 for the Americana Decor Metallics, and around $15 for the Angelus Gold. I found it was slightly cheaper per 6oz bottle, if you buy from Angelus directly instead of Amazon. You'll probably need 2 6oz bottles, and will end up with enough left over for a half-dozen Eddie Jackets.
Sooo... How to go about it?
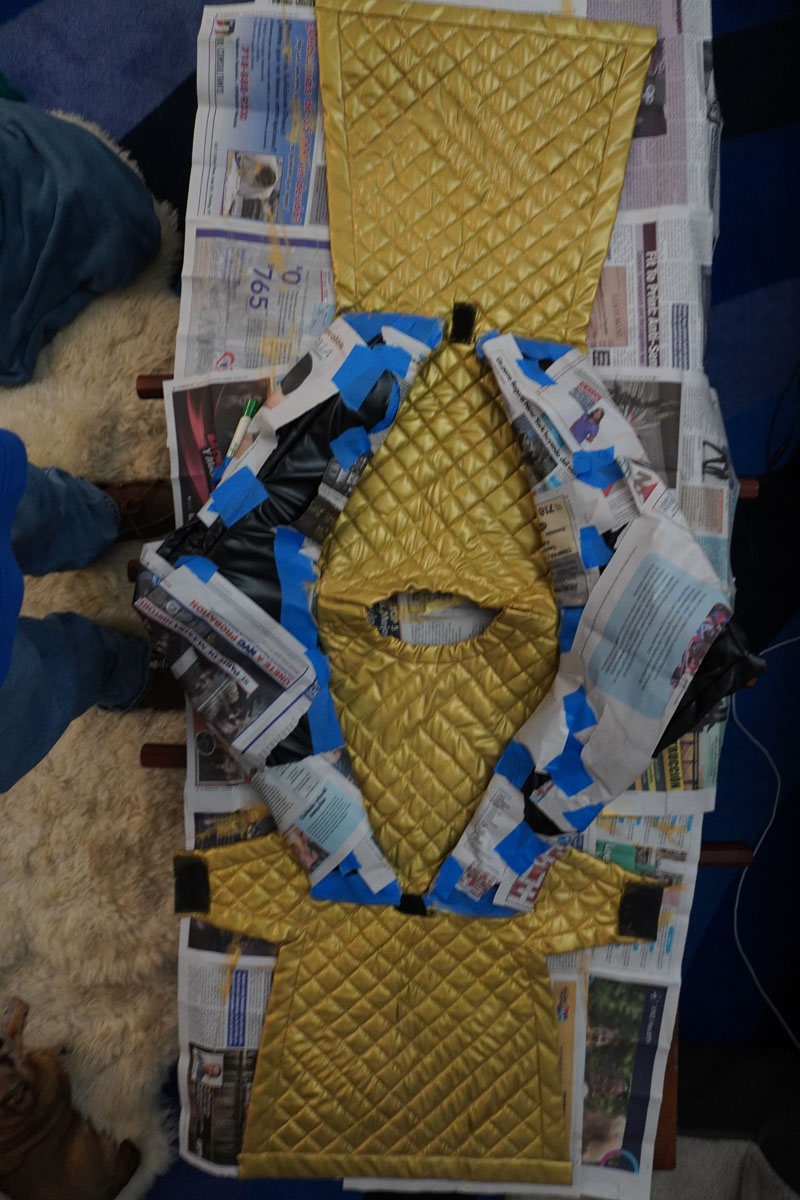
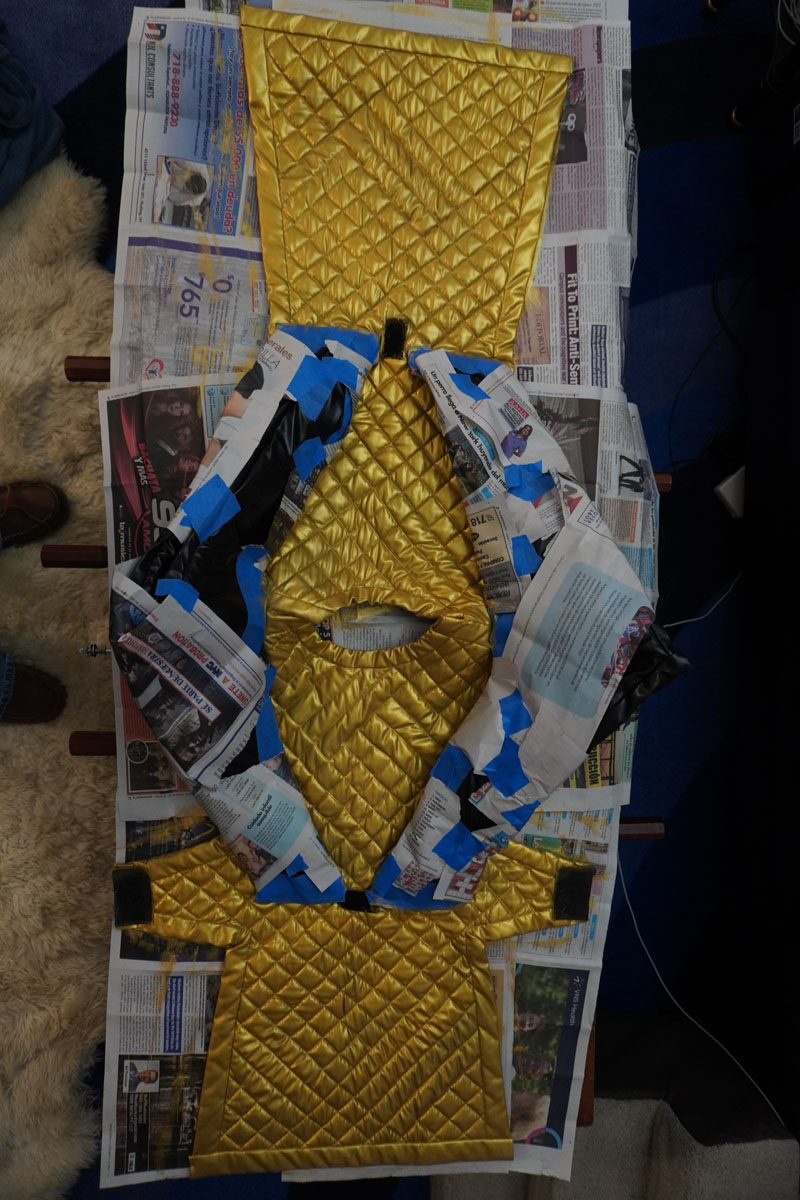
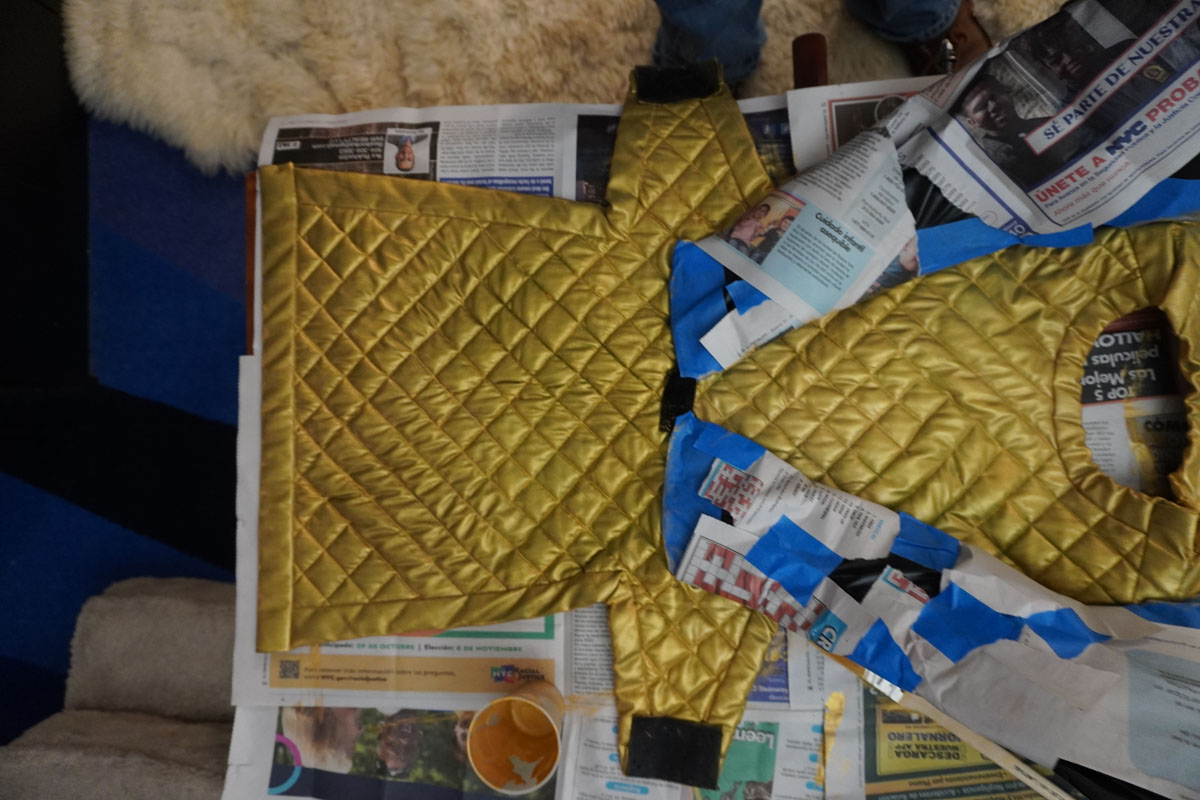
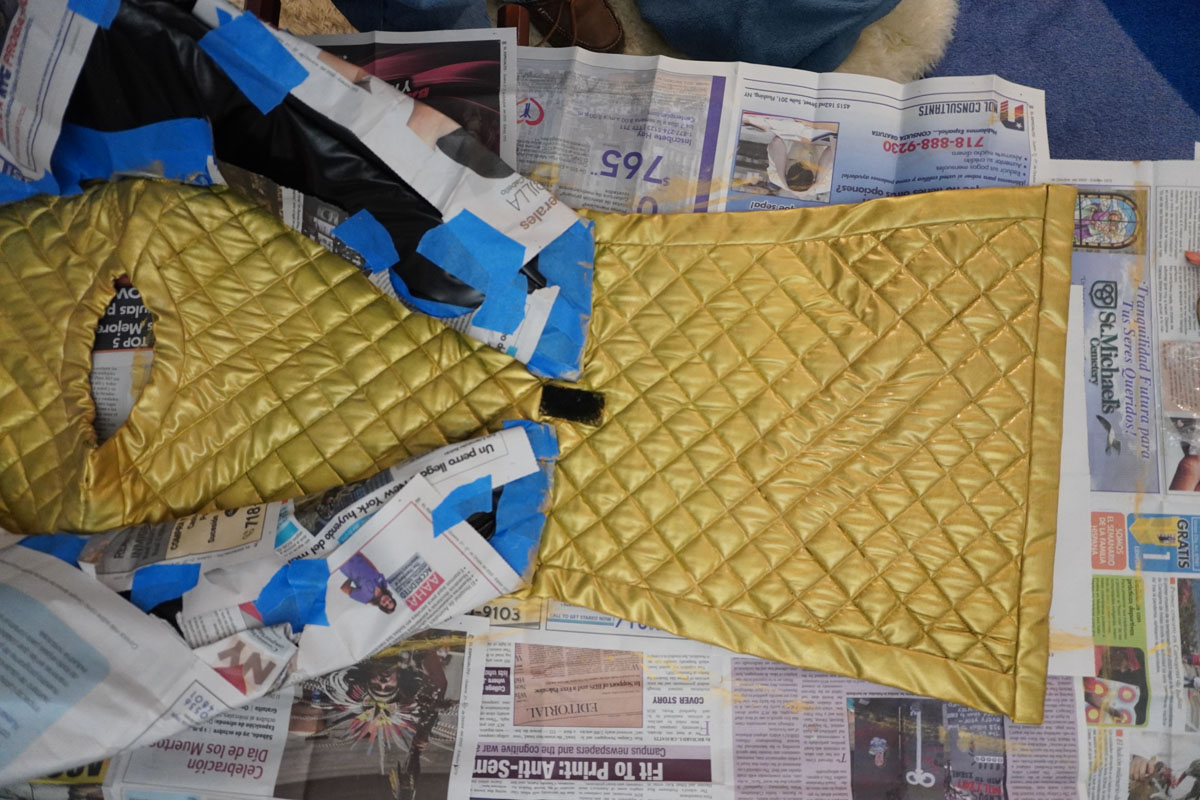
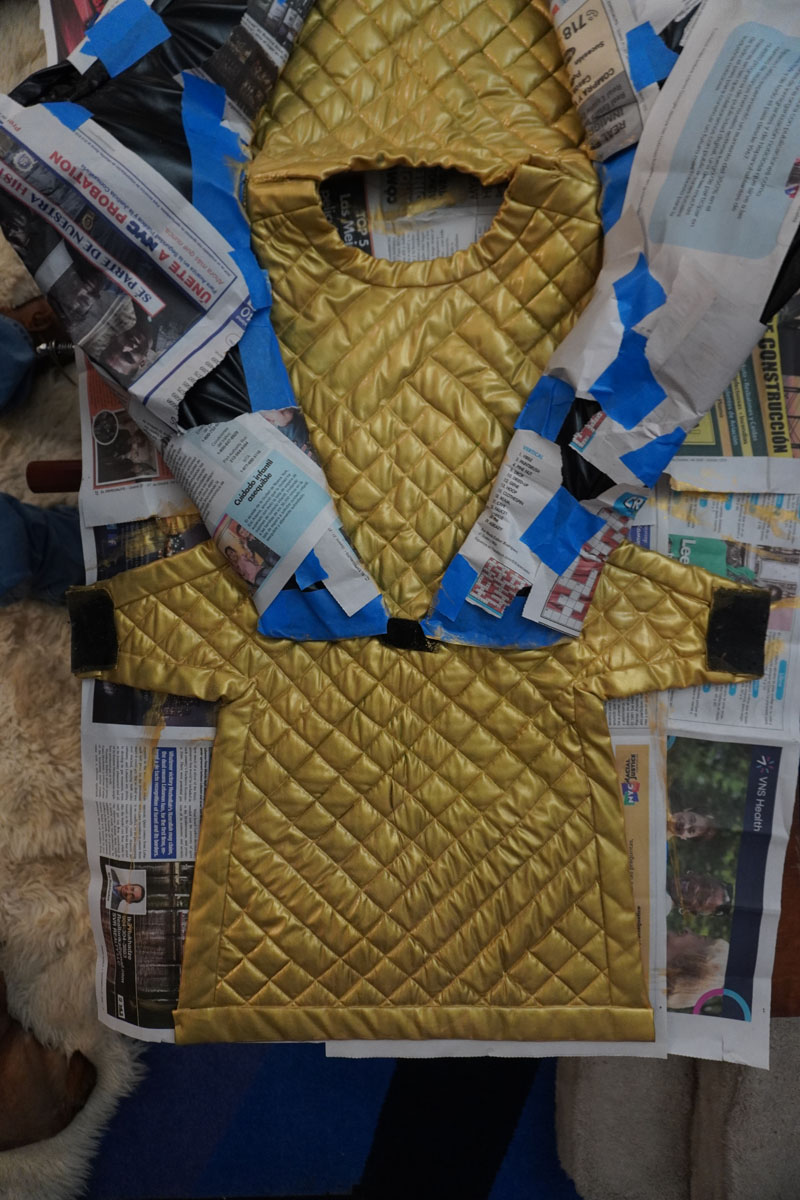
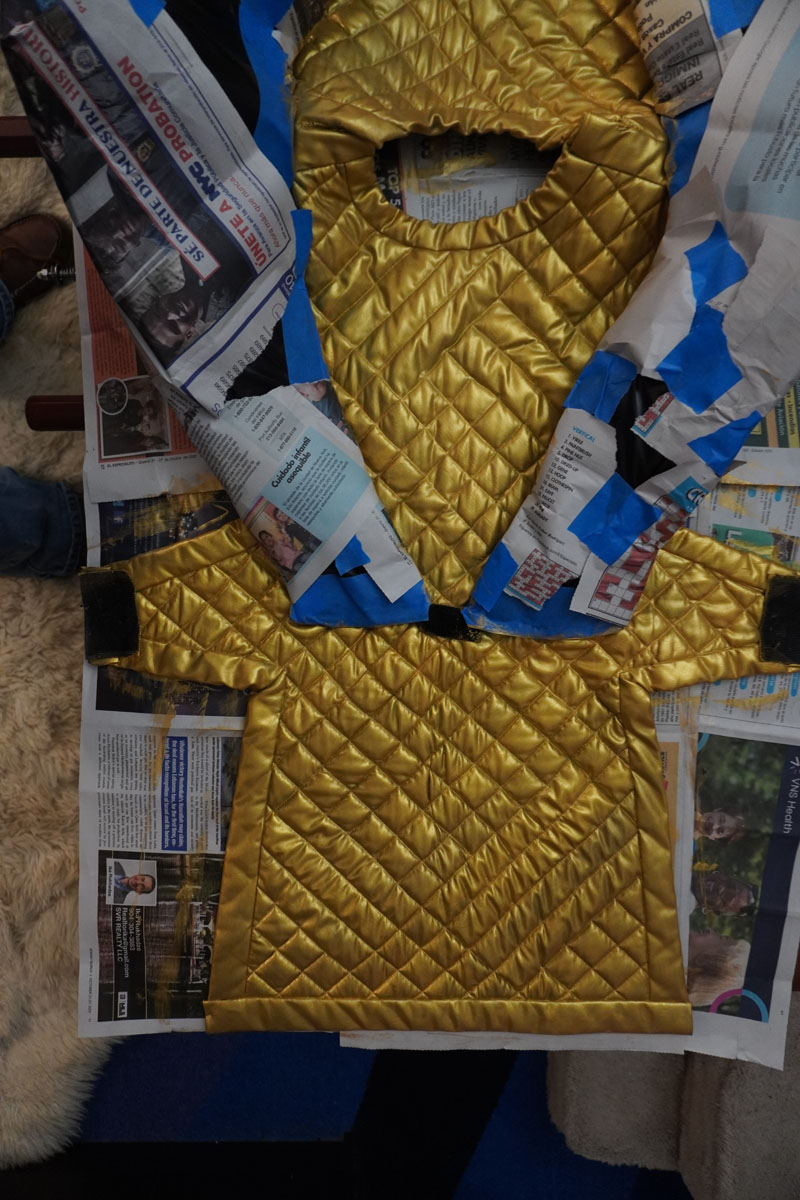
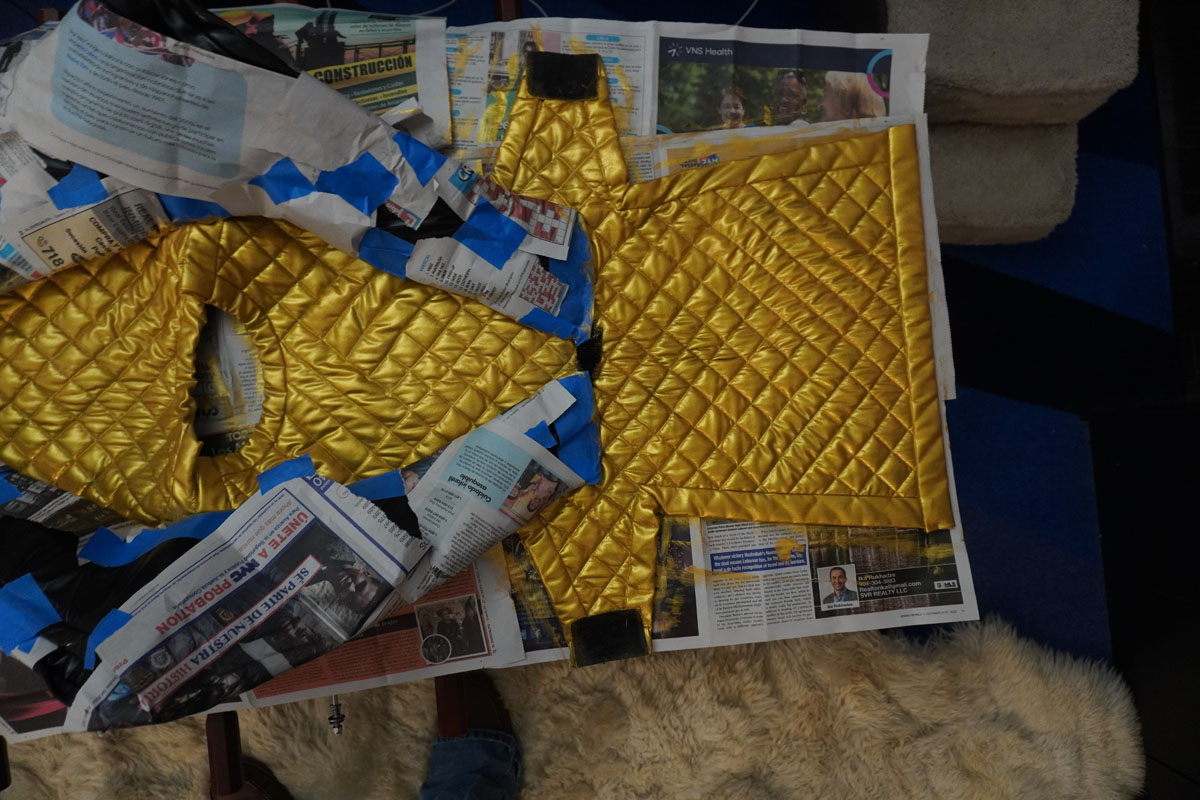
Unfortunately, the wings on our Space Suits don't come off. I did the front of the first suit without taping everything off, and ended up with a lot of sloppy spots that I had to clean up on the wings. For the second Space Suit, I wrapped the wings up, using painters tape and newspaper (we just so happened to have massive piles of pre-folded newspaper around... wonder why 🙄).
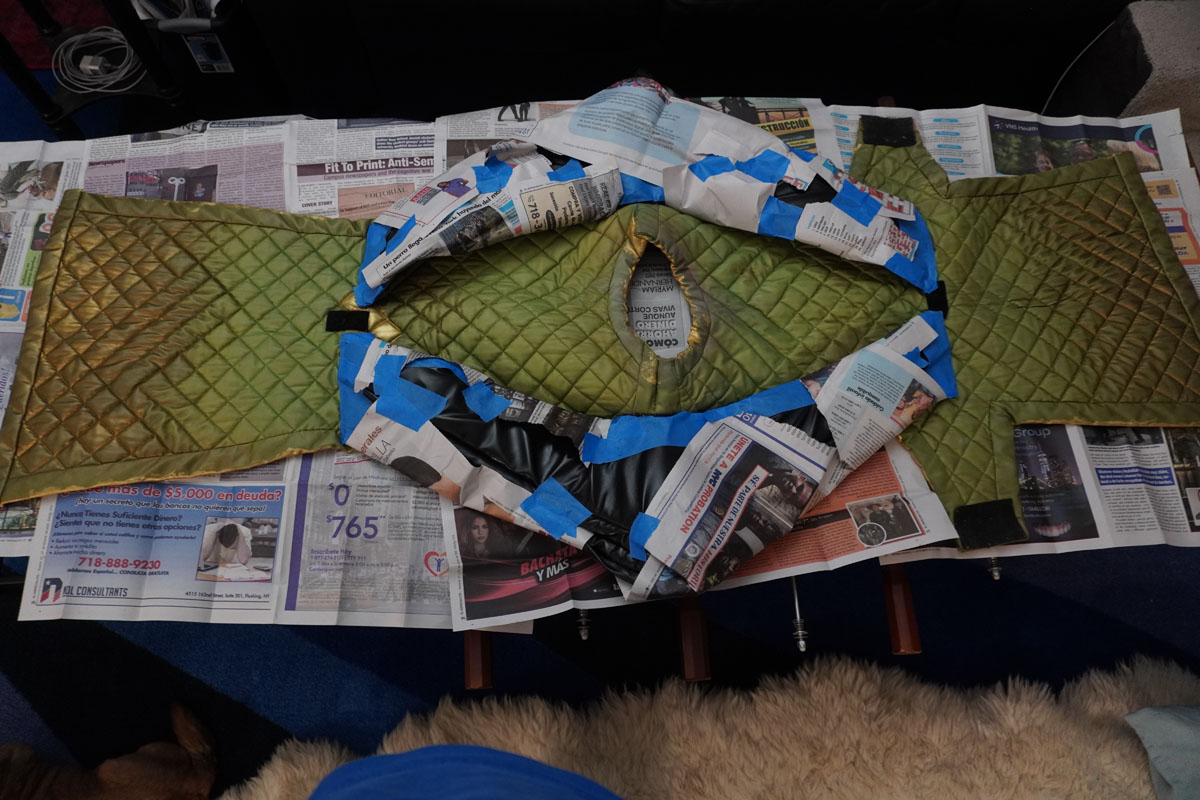
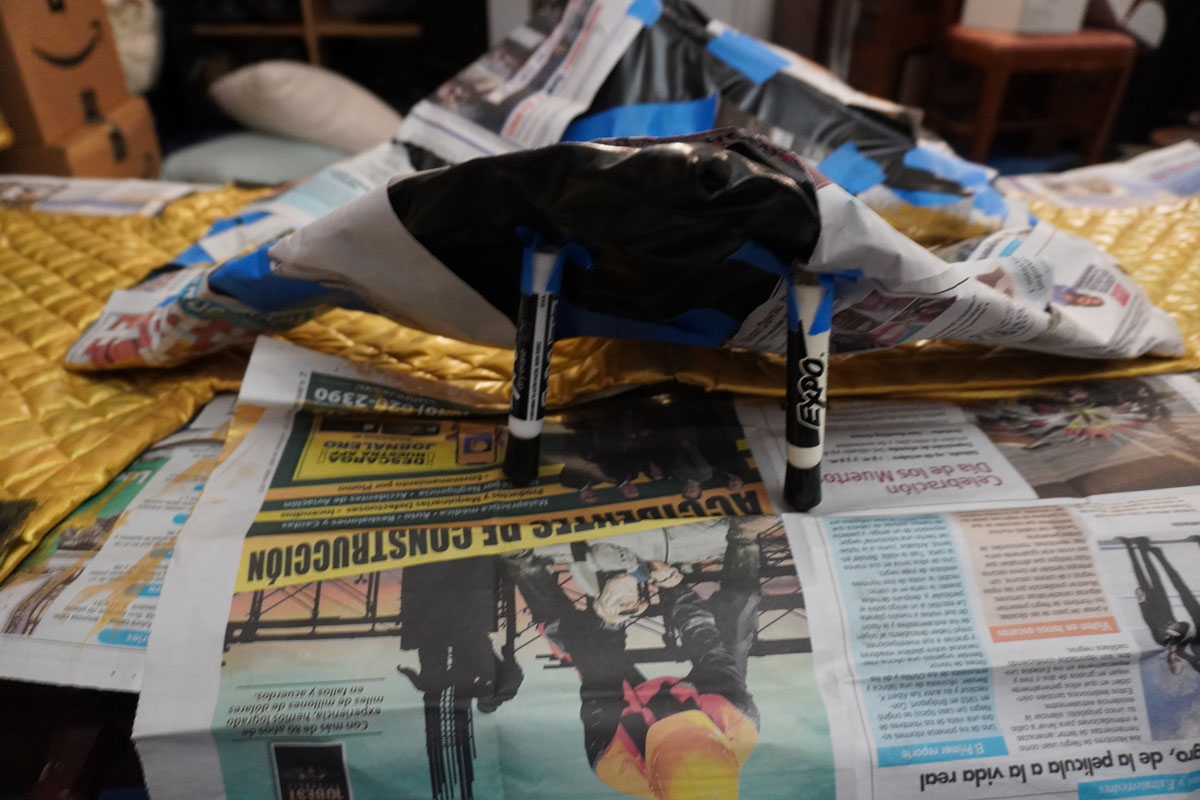
I also used some whiteboard markers to help hold up the wings so the newspaper didn't stick to the paint in the areas directly under the wings.
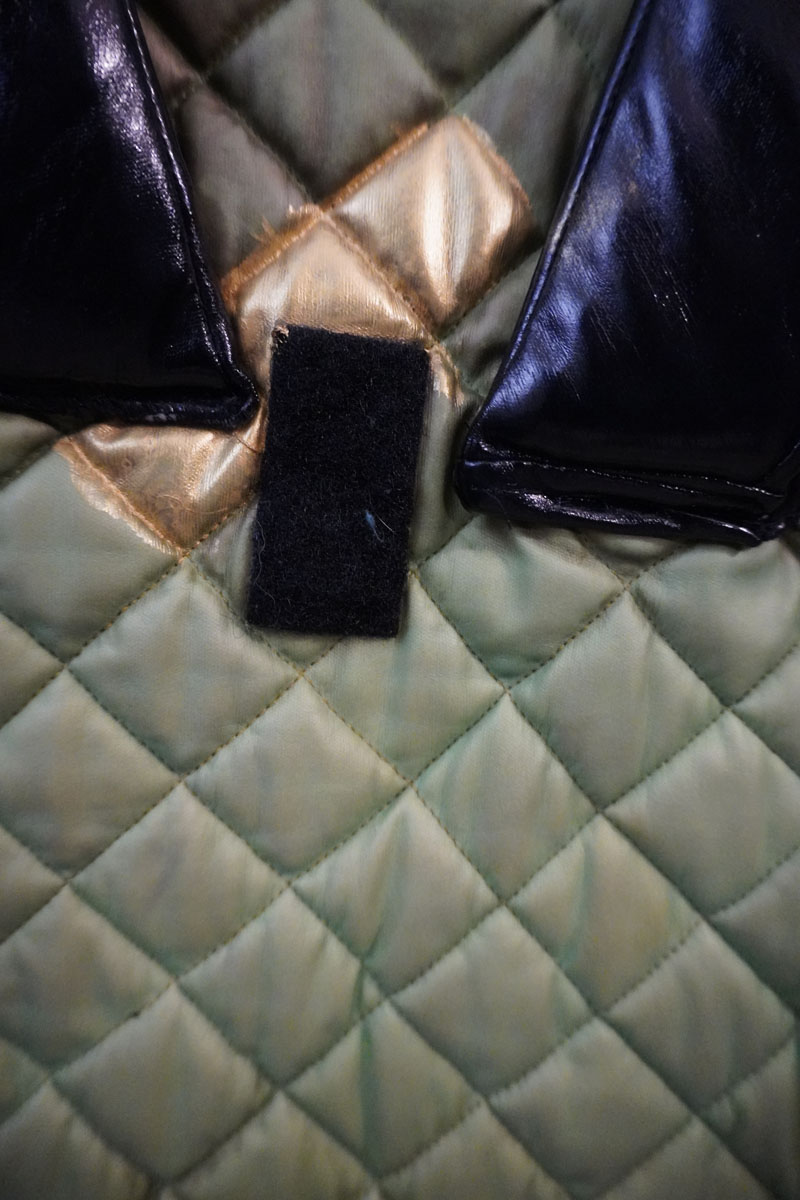
Using a lot of very light coats is the key to get good even coverage. The main objective is to avoid paint pooling in the quilting, and having too much paint in areas like the collar and under the wings. If applied too heavily, it will take too long to dry and will leave big splotches. I often found myself pulling a single brush of paint out so that it covered around 10+ squares of a panel.
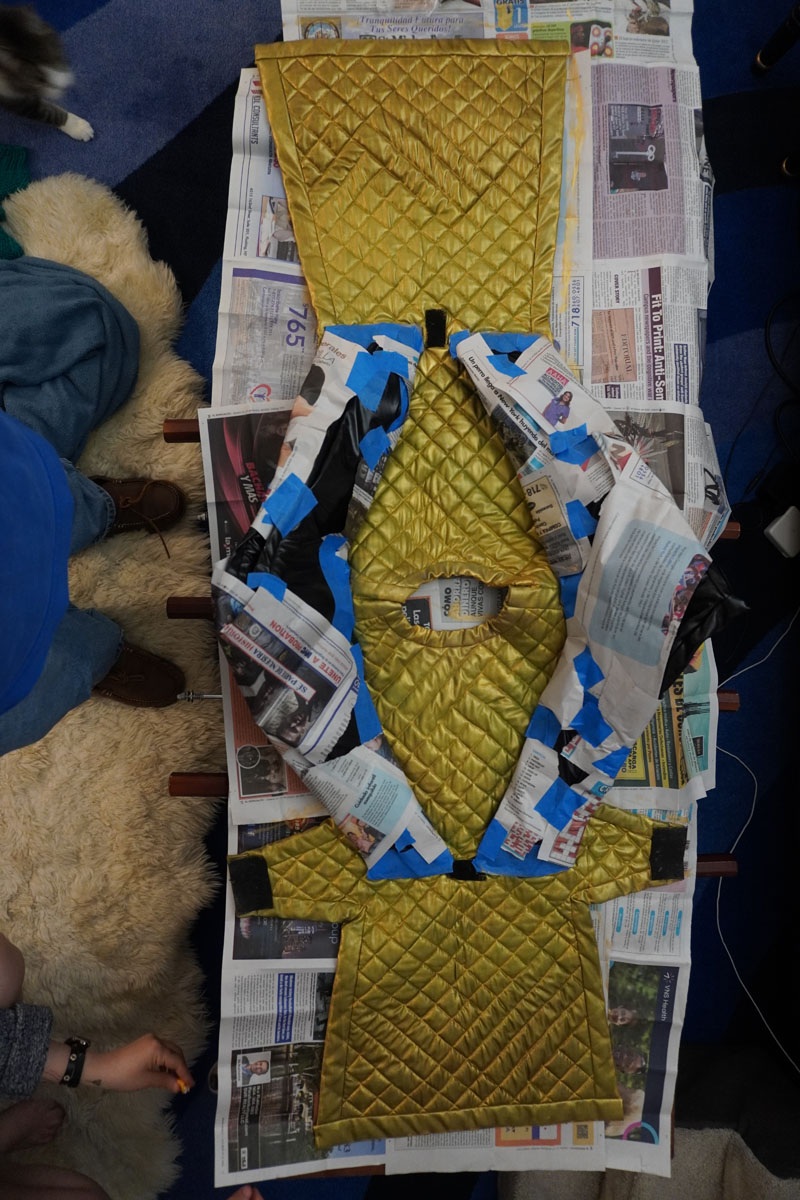
After the first coat, you can still see a lot of the green coming through, but it is definitely looking more even. Fortunately, the Angelus paint also dries VERY fast when put on in thin coats. By the time I had finished hitting the entire Space Suit, I was able to start immediately on the next coat.
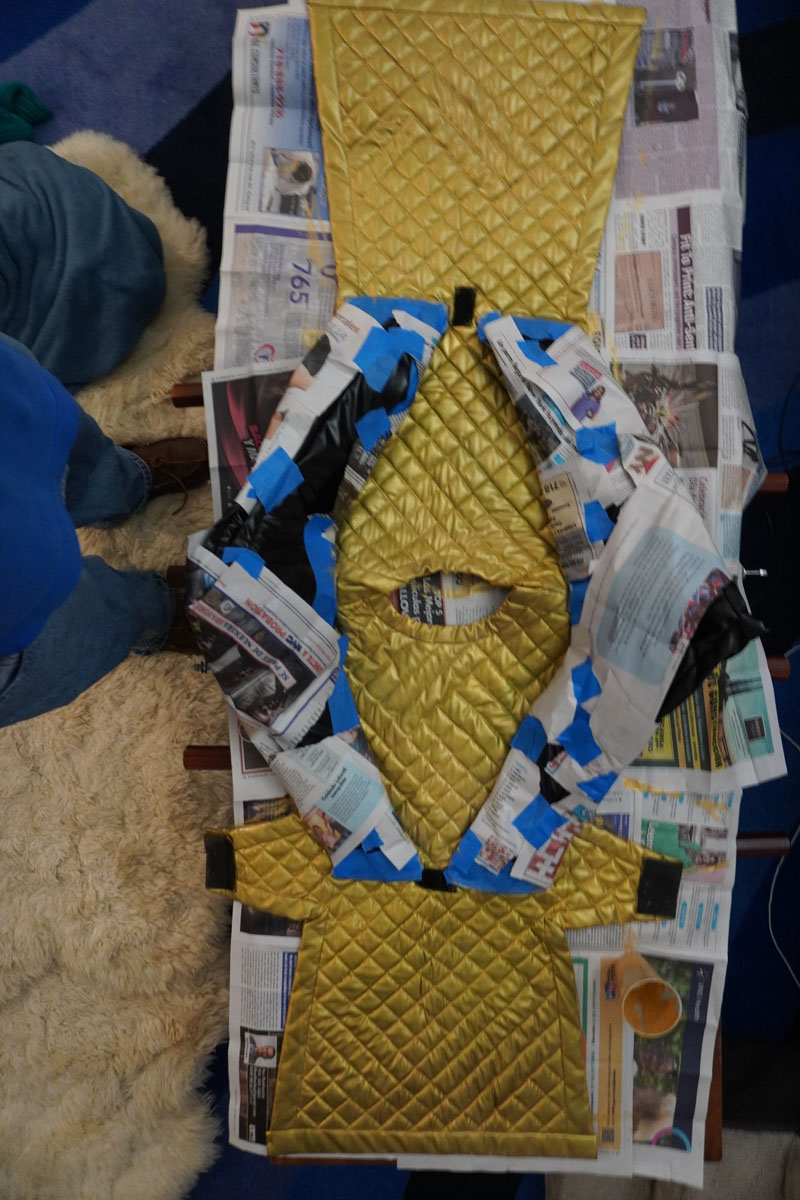
Starting to come together after the second coat. I didn't need to be overly careful about brush strokes as the subsequent coats and the top layer hide a lot of sins. That said, a lot of effort was made to make them very light and even.
After the third coat. Underneath the wings was a huge pain, and I still did get some paint sticking to the newspaper, but it was much better than having to sharpie over spots later.
The first layer of the Americana Decor Metallics. The difference is really apparent in just how much luster it adds. I was actually really surprised.

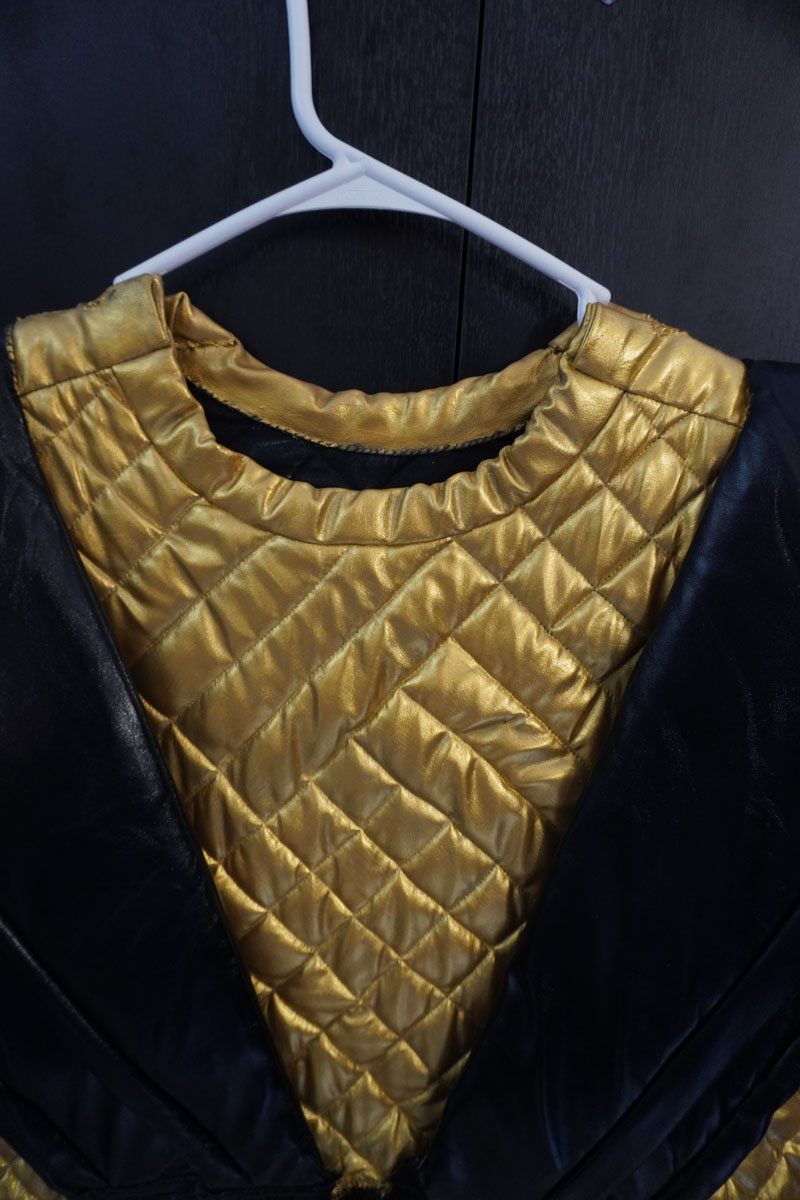
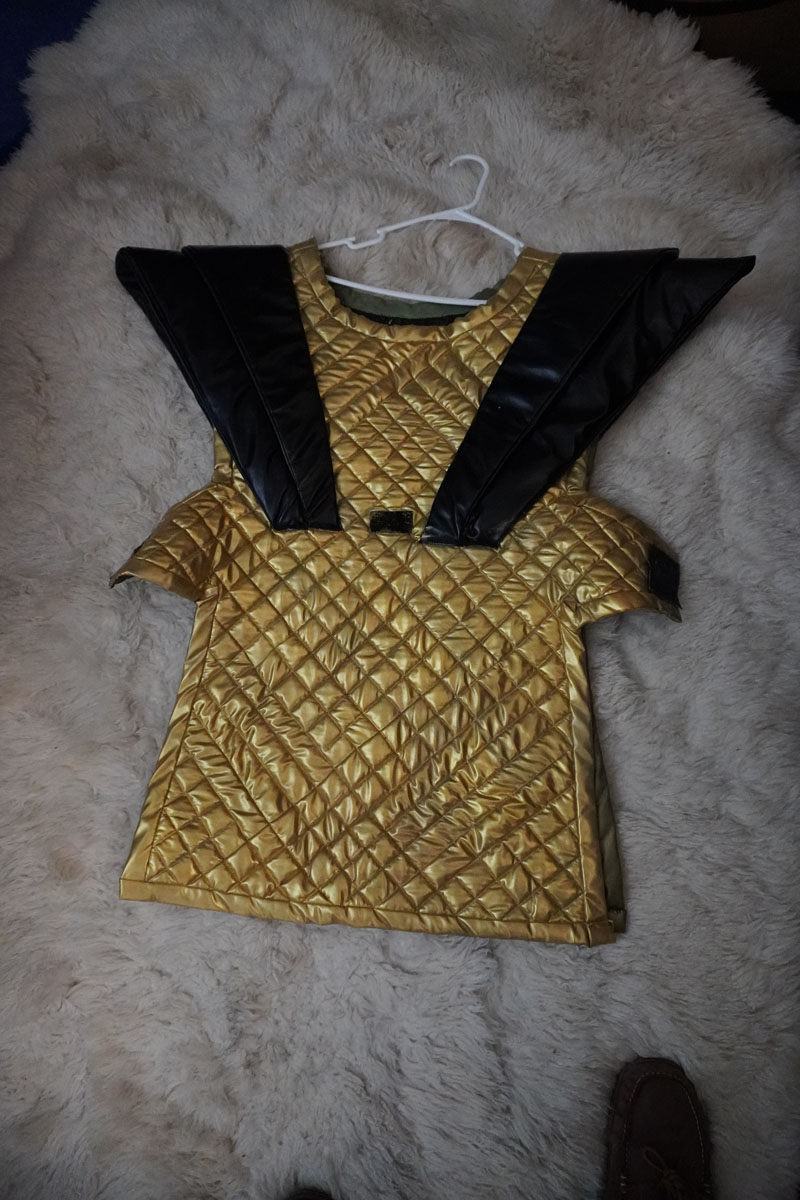
And after the second (and final) top coat. Very happy to say it pops like crazy.
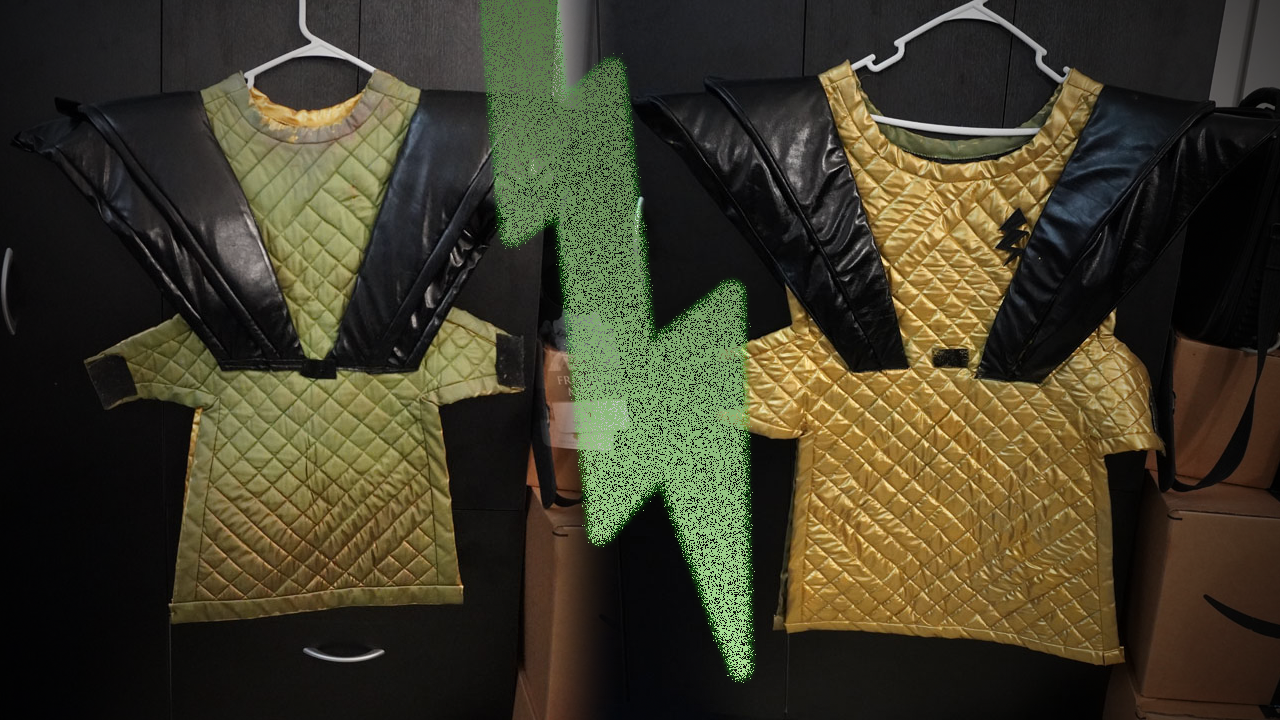
The two restored suits (where did that second Lightning Bolt pin go... damn...):
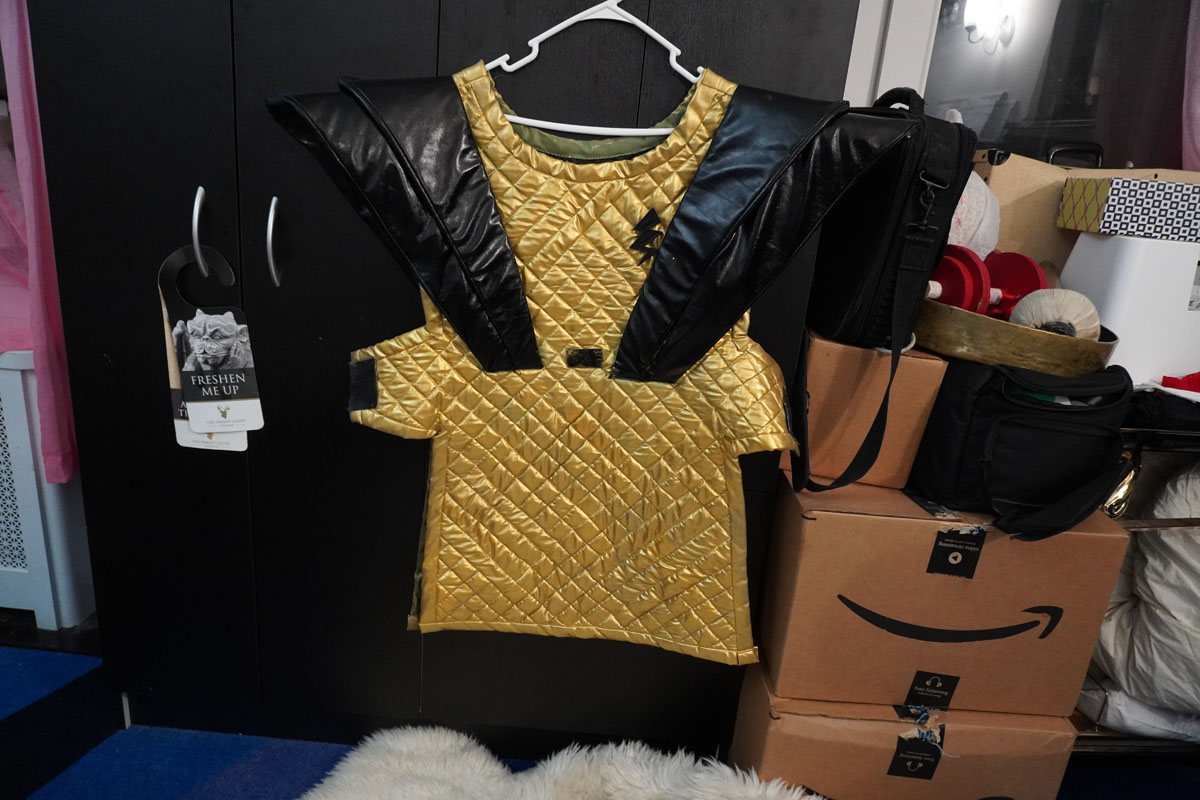

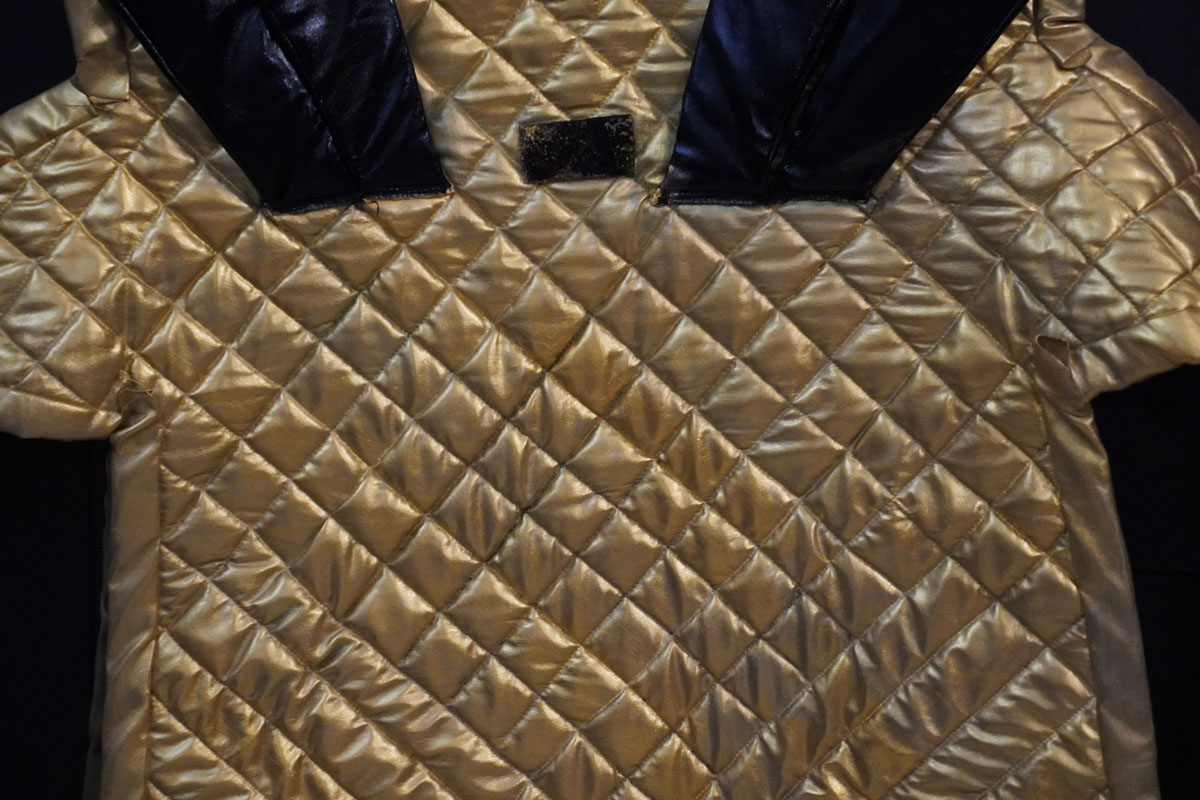
A couple of close-ups. You really can't tell its painted unless it's in your hands.
A few more work-in-progress shots:
Coat 2:
Coat 3:
Coat 4:
Coat 5:
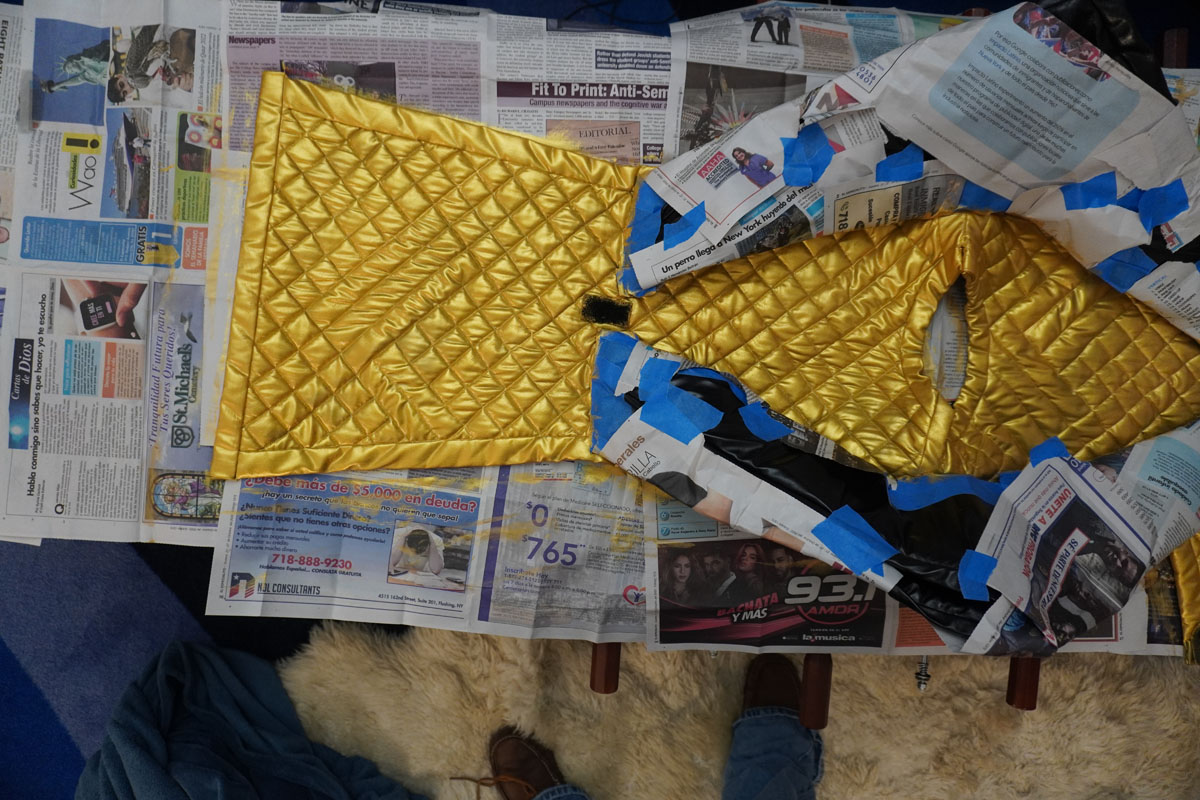

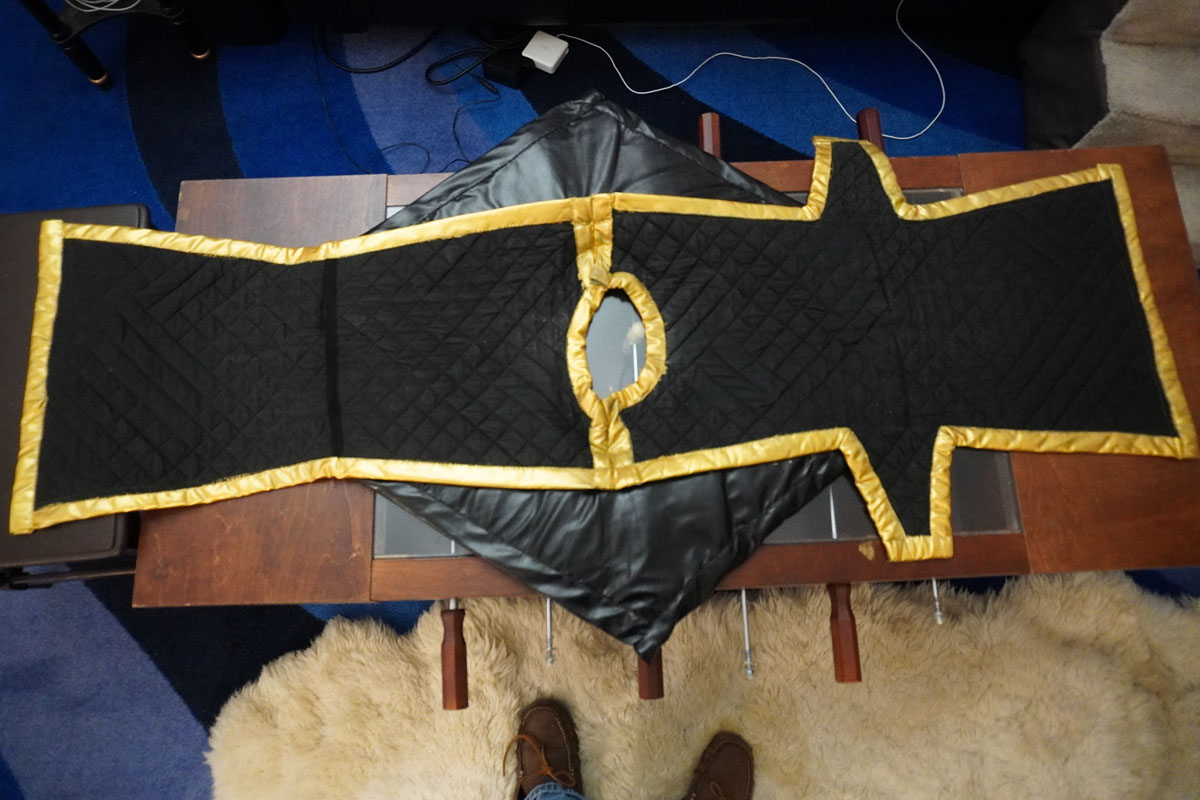
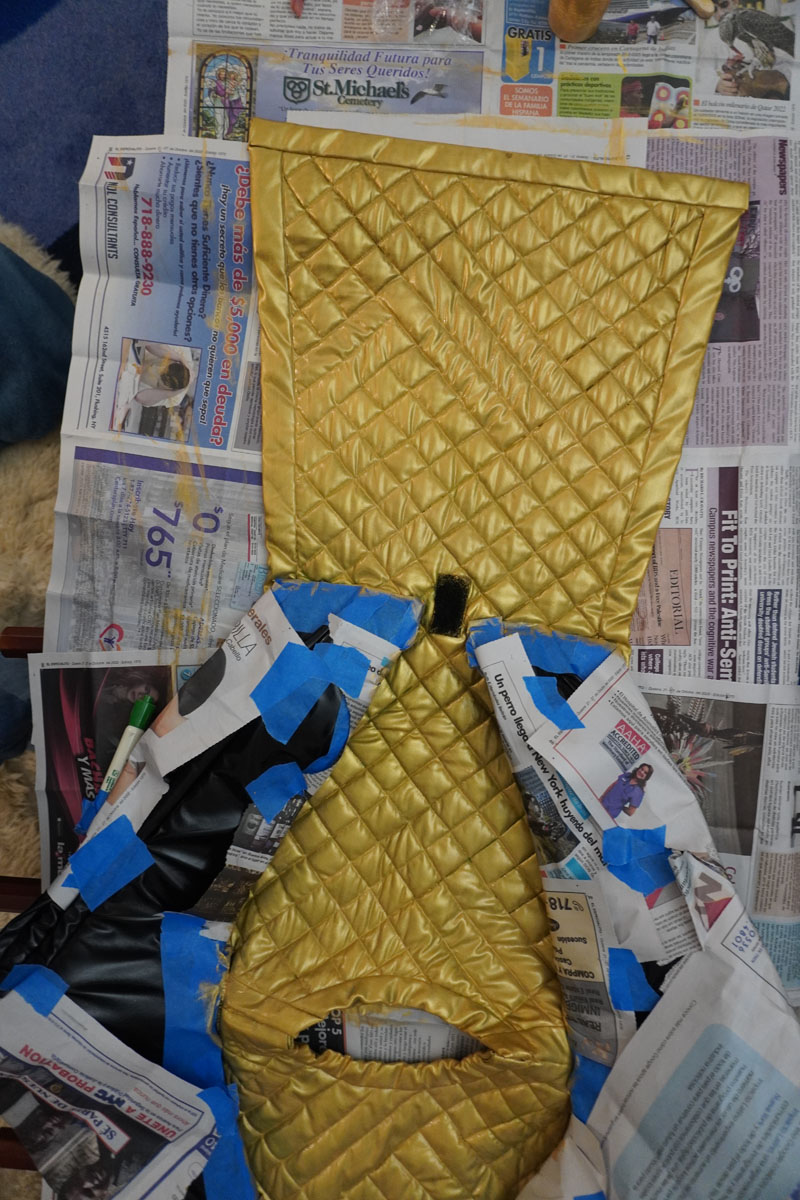
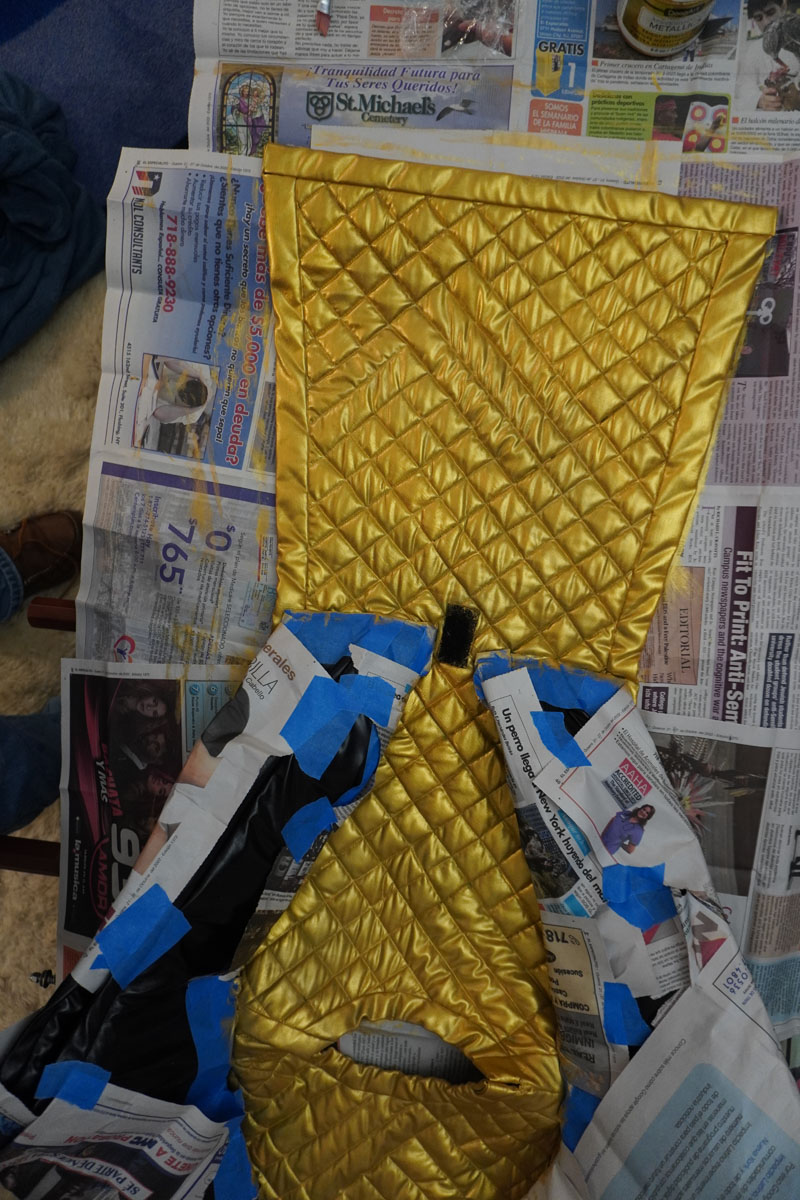
Before (suit 2) / After (suit 1). You can see the backside I've already done on the before:
Total time spent, about 5 hours over two nights. How long will it hold? It seems pretty good. I'll let you know in a few years... Until then, Good Luck! And at least I won't have to color-correct our Takeover photos in Photoshop anymore 😜
Read Next
 Aaron
April 20, 2021
Aaron
April 20, 2021
From the Criminoligist's Book in The Rocky Horror Picture Show - Tonight Magazine Volume 11 Number 4. Full Cover and Back Cover Scans.
 Aaron
March 30, 2022
Aaron
March 30, 2022
Archive of Shawn Hall's resource for Rocky Horror designers, artists, and makers.